はじめに
このガイドでは、ubuntu 22.04サーバーにGitLab CE(Community Edition)をインストールする手順を解説します。
手順1: 必要なパッケージをインストールする
まず、サーバーを最新の状態に更新し、必要なパッケージをインストールします。
sudo apt-get update
sudo apt-get install -y curl ca-certificates tzdata perl
sudo apt-get install -y postfix
手順2: GitLabリポジトリを追加する
次に、GitLab CEのパッケージリポジトリを追加します。
curl -sS https://packages.gitlab.com/install/repositories/gitlab/gitlab-ce/script.deb.sh | sudo bashリポジトリが正しく追加されたことを確認します。
cat /etc/apt/sources.list.d/gitlab_gitlab-ce.list手順3: GitLab CEをインストールする
以下のコマンドでGitLab CEをインストールします。
sudo apt-get install gitlab-ceインストールが完了すると、以下のようなメッセージが表示されます。
GitLab was unable to detect a valid hostname for your instance.
Please configure a URL for your GitLab instance by setting `external_url`
configuration in /etc/gitlab/gitlab.rb file.
Then, you can start your GitLab instance by running the following command:
  sudo gitlab-ctl reconfigure
手順4: GitLabの再構成を行う
以下のコマンドでGitLabを再構成します。
sudo gitlab-ctl reconfigure手順5: GitLabに初めてログインする
GitLabの初期パスワードを取得します。
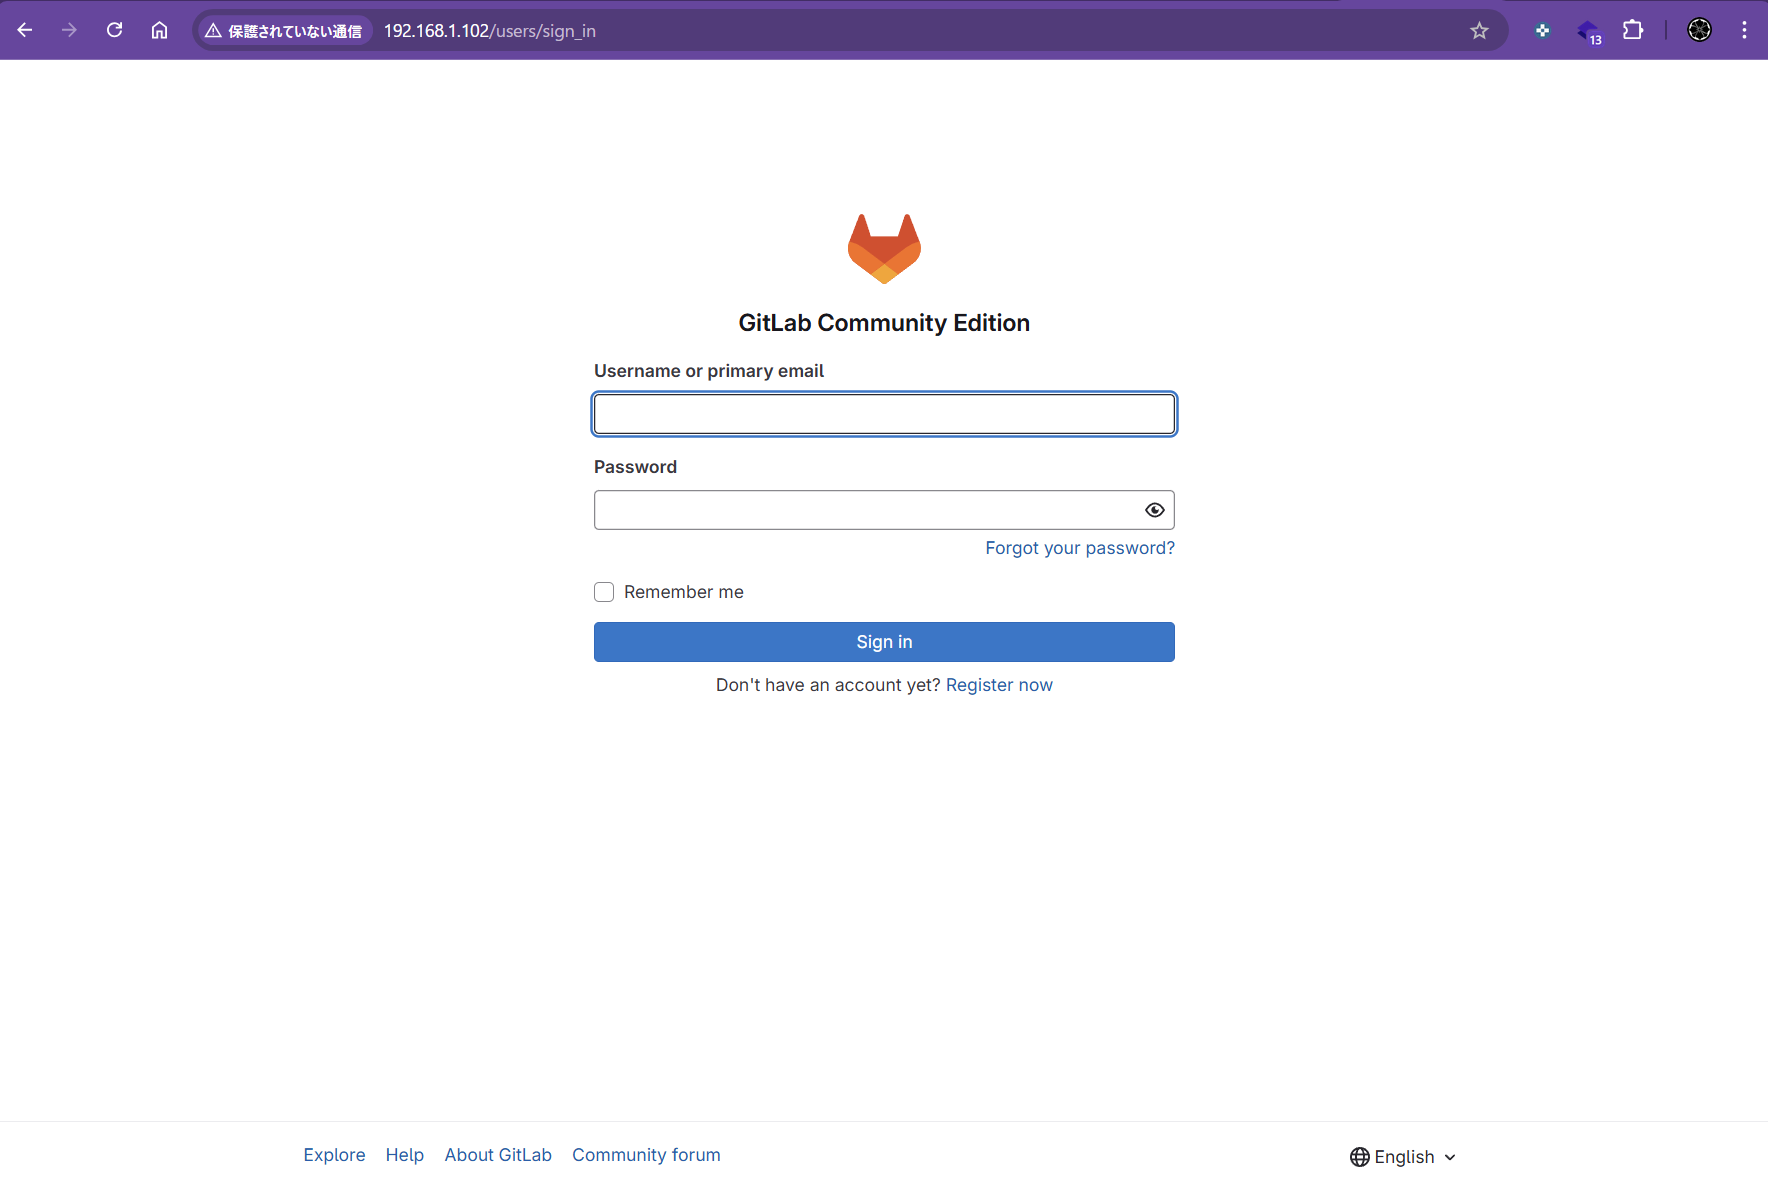
sudo cat /etc/gitlab/initial_root_passwordブラウザでGitLabのURLにアクセスし、「root」ユーザーと初期パスワードを使用してログインします。

手順6: rootパスワードを変更しておく
rootのパスワードを変更します。initial_root_passwordはしばらくすると見れなくなるので、変更しておいたほうがいい。
sudo gitlab-rake "gitlab:password:reset"ブラウザでGitLabのURLにアクセスし、「root」ユーザーと変更したパスワードを使用してログインします。
まとめ
以上で、ubuntu 22.04サーバーへのGitLab CEのインストールと初期設定は完了です。簡単に使い始められるようになりました。